
Your studio runs on seats: each team member gets their own login with a role that scopes what they can see. Trainers never see each other's clients; front desk can check members in without touching programming or billing.
- 1
Open the Members tab
In your studio dashboard, go to Members. The Invite a member card sits at the top.
- 2
Enter their email (and mobile)
Fill in Email. If you add Mobile (optional — texts the invite), the invite goes out by SMS as well — handy for trainers who live in their phone, not their inbox.
- 3
Choose a role
Pick a Role:
- Manager — members, all clients, intelligence, check-ins and integrations. No billing.
- Trainer — their assigned clients only: programming, nutrition, messaging, plus check-ins.
- Front desk — client lookup and check-ins only. Front-desk seats are free.
- 4
Send the invite
Click Invite. Repstra confirms how it went out (emailed, texted, or both) and shows a Copy link invite URL you can paste anywhere. The new person appears in the members table as invited until they accept — after that you can change their role inline, or suspend and remove from the same table.
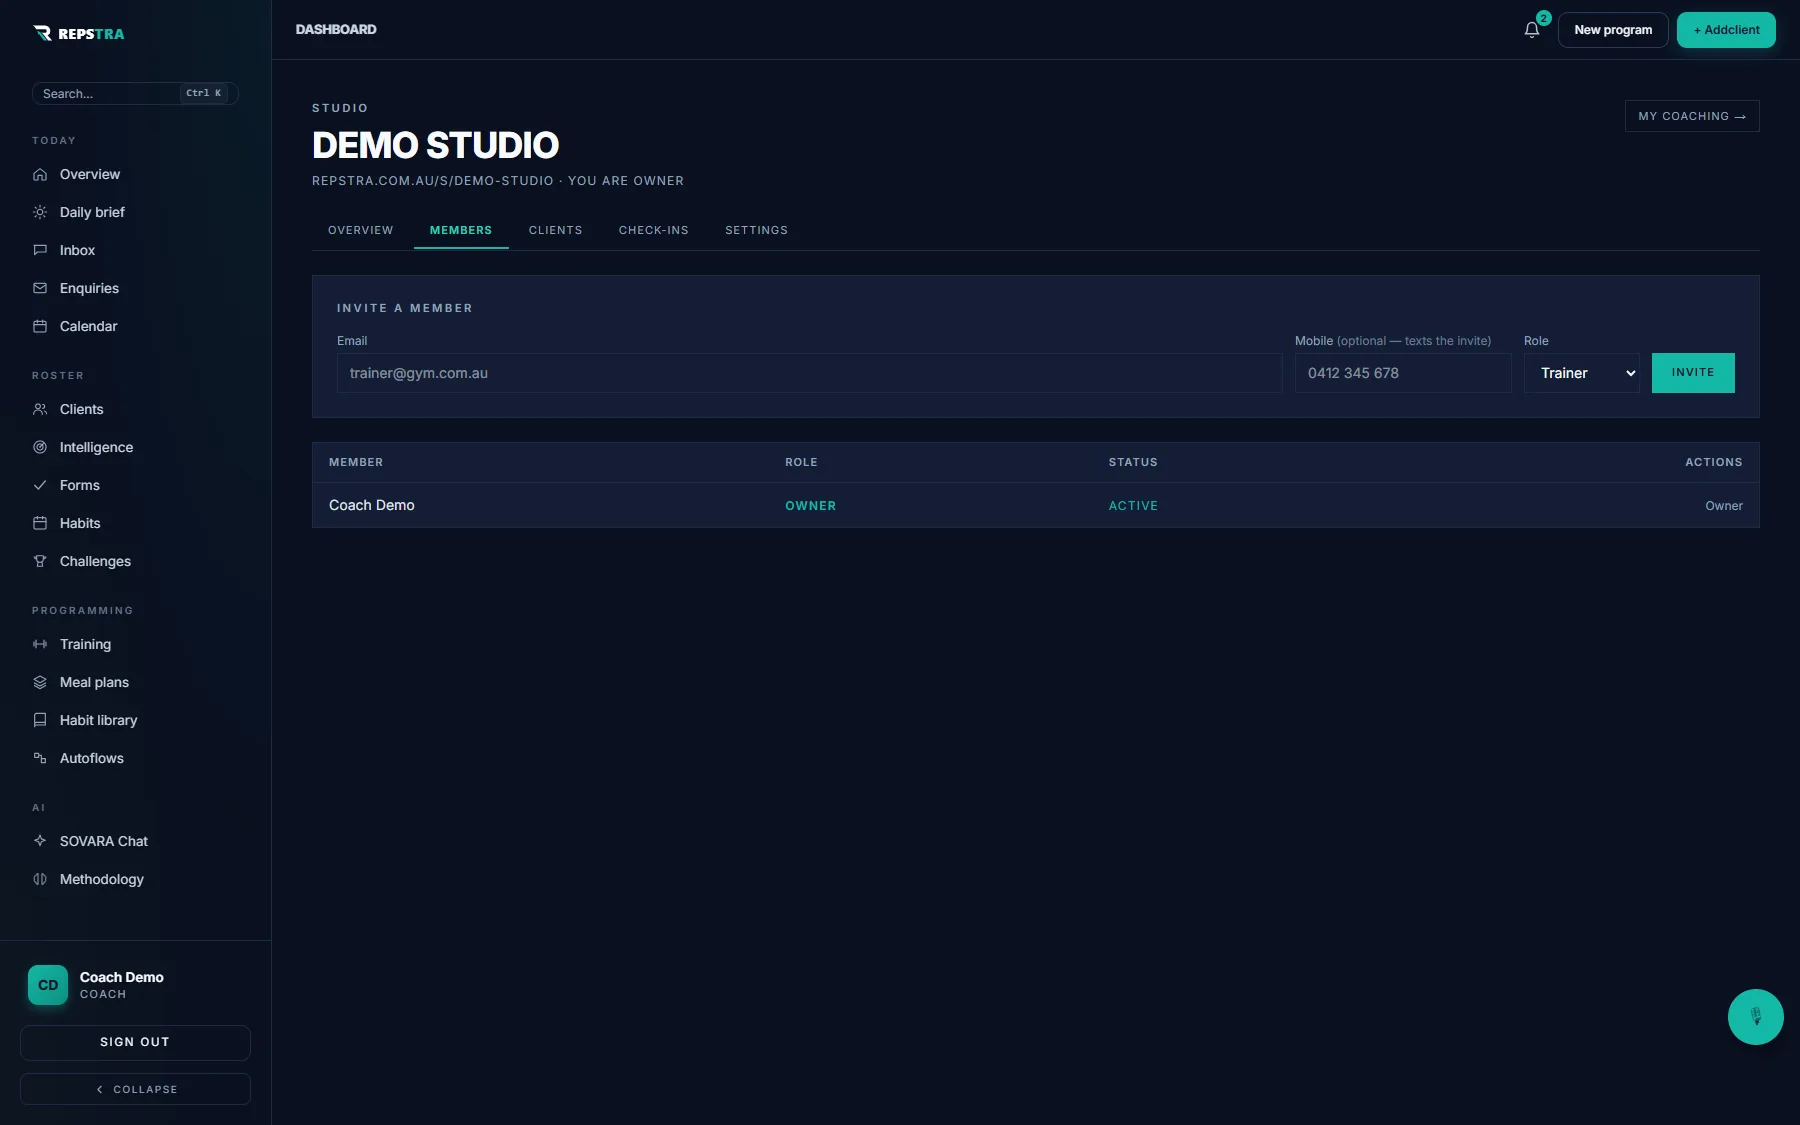
The Members tab — invite by email or SMS, pick the role, done.